tattoo try on photo
Updated
The Ombra Tattoo team · Written by the team behind the Ombra cover-up preview app — we look at real cover-up cases every day.
For a useful tattoo try-on photo, use soft even light, hold the camera parallel to the skin, keep the body area relaxed, and include enough surrounding anatomy to judge scale. Make sure the skin is unobstructed and the image is sharp, but do not crop so tightly that the app or your artist loses the placement context. Take a second angle only when the area curves around the body.
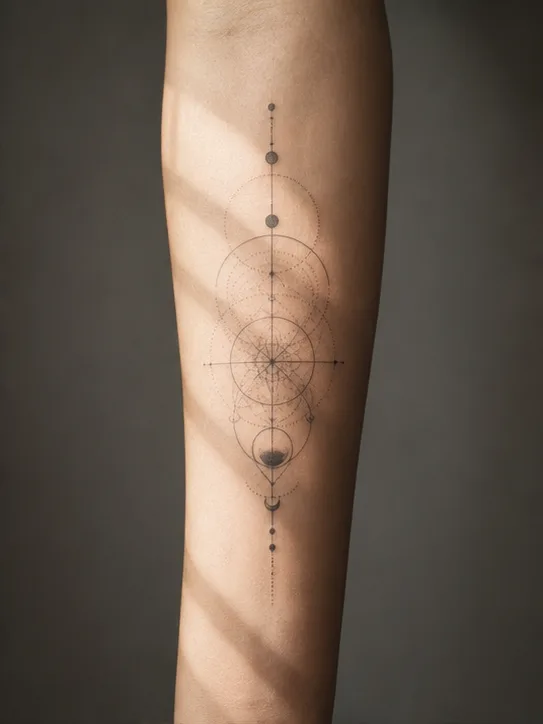
A try-on can only work with the information in the photograph. If a forearm is twisted, the camera is looking down at a steep angle, or a hard shadow cuts across the skin, a design may appear stretched or sit in the wrong visual plane. The goal is not a polished portrait. It is a clear reference that shows the real body area, its boundaries, and the way the surface curves.
What a good source photo needs
- Soft daylight or one broad indoor light, without bright glare or a hard stripe of shadow across the placement.
- A clean camera lens and enough resolution to see the outline of the limb and the natural texture of the skin.
- A straight, relaxed pose that you can repeat while comparing more than one design direction.
- The whole intended placement plus nearby landmarks such as the wrist, elbow, ankle, shoulder line, or center of the back.
- Bare, visible skin without watches, bracelets, sleeves, hair, hands, or objects covering the area where the design should sit.
Take the tattoo try-on photo step by step
Choose the final placement before the pose
Decide whether you are testing the inner or outer forearm, upper or lower calf, shoulder, back, or another specific surface. Similar body areas are not interchangeable: a design that follows the outer forearm may feel upside down or cramped on the inside. Name the surface first so the photograph has one job.
Find broad, even light
Stand near a window out of direct sun or use a softly lit room. Turn until the skin is evenly visible and there is no blown-out highlight. Avoid a phone flash at close range; it flattens texture in the center and makes the edges darker, which can distort the perceived shape.
Relax and straighten the body area
Let the arm or leg rest in a neutral position instead of flexing or twisting it toward the camera. For a back or shoulder photo, stand naturally and have another person frame the shot if possible. The pose should resemble how you normally carry the area, not a temporary stretch that changes the available space.
Keep the camera parallel
Place the phone opposite the center of the intended tattoo, not above one end of it. Keep the camera plane parallel to the skin surface and use the normal lens rather than an ultra-wide setting. Leave a small margin around the placement so size and orientation can be judged against real landmarks.
Check sharpness and obstructions
Tap the skin to focus, hold still, and inspect the full-size image. Retake it if motion blur hides the edge, if hair or clothing crosses the placement, or if your hand creates a shadow. Do not smooth the skin or apply a beauty filter; the unedited image is the useful one.
Add one supporting angle only when needed
A flat forearm often needs one straight photograph. A shoulder, thigh, or wrapping design may need a second view from the side to show where the surface turns away. Keep the lighting and pose consistent so the two images describe the same placement rather than two unrelated shapes.
Common photo mistakes and what they change
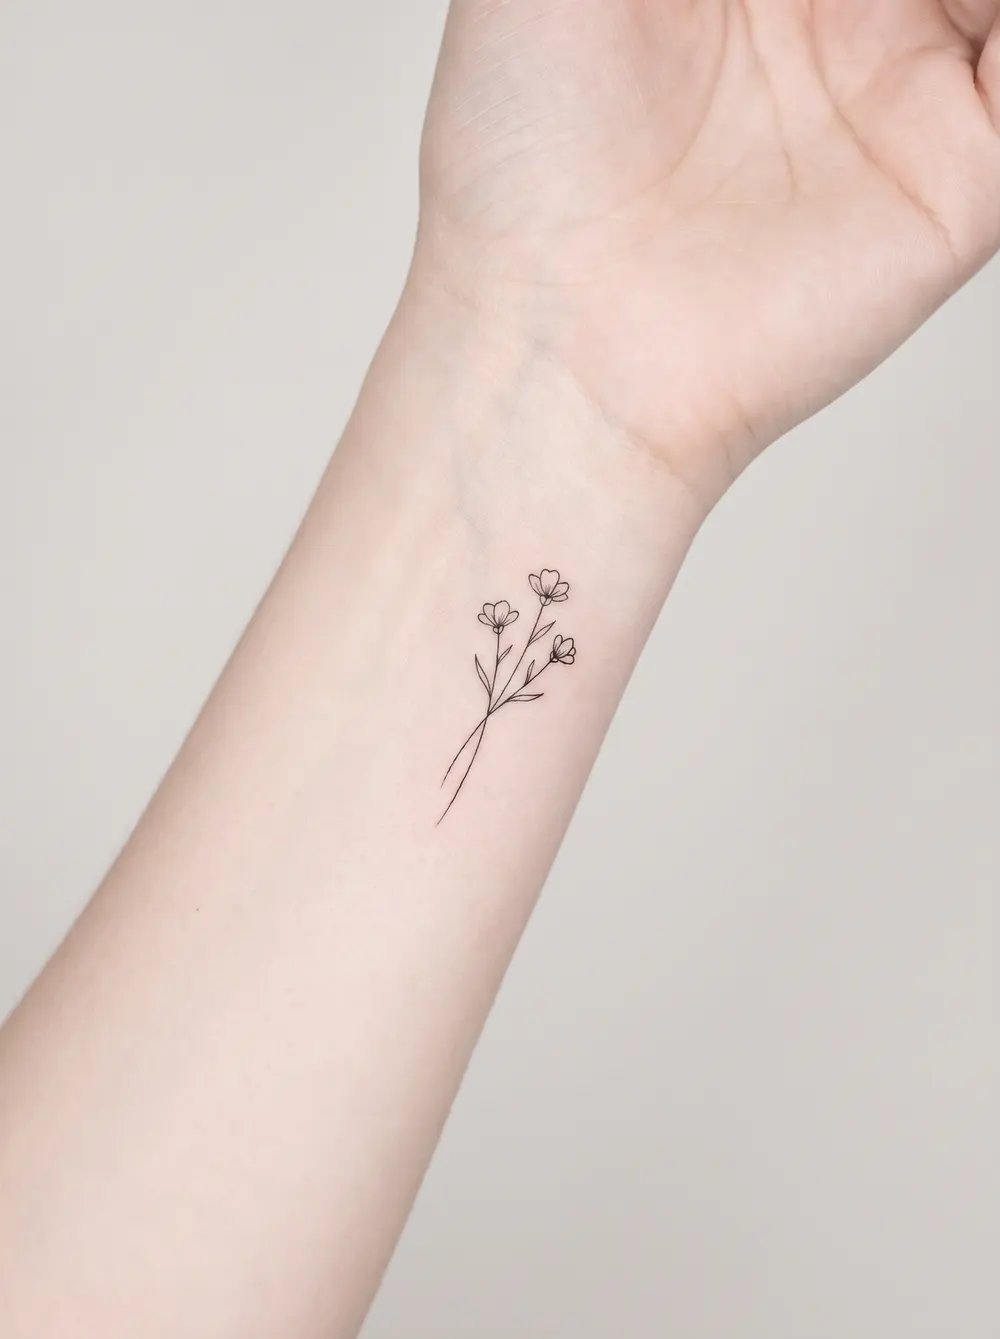
A very tight crop makes a tattoo look impressive but removes the scale reference. A wide-angle lens close to the skin enlarges the center and narrows the edges. A bent joint changes the available length, while a mirror selfie may reverse orientation and add reflections. Heavy contrast can make a light preview seem darker than it is. These errors do not make a design impossible; they make the comparison less honest.
For an existing tattoo or cover-up, do not hide the old ink with makeup, editing, or low light. The preview needs to respond to the actual shape and darkness. Photograph old ink straight on, then add side angles if it wraps. A generated result can still be imperfect, but at least the source image will not conceal the problem you are trying to plan around.
Use your photo to preview a tattoo direction → Get the appHow to compare previews fairly
Use the same source photo when comparing two motifs or sizes. Change one decision at a time: first subject, then approximate footprint, then orientation. If every preview uses a different pose or light, you may prefer the photograph rather than the tattoo. Save the versions with clear filenames or notes and compare them at normal viewing size instead of zooming into line detail that a real tattoo artist may need to simplify.
Ombra Tattoo is free to download and lets you explore a tattoo direction on your own photo in the app. Keep the clean source image alongside the preview when you speak with an artist. It shows both what you tested and what the unedited placement actually looks like, giving the artist better context for the final design.
FAQ
What lighting is best for a tattoo try-on photo?
Use soft, even daylight or one broad indoor light. Avoid direct sun, phone flash, colored light, and hard shadows across the intended placement.
How close should the camera be?
Stay far enough away to include the whole placement and nearby body landmarks without using an ultra-wide lens. Crop later only if the body context remains visible.
Should I flex my arm for a tattoo preview?
Use a relaxed, repeatable position. Flexing or twisting changes the apparent space and can make a design look differently proportioned from its normal resting view.
Do I need more than one photo?
One straight photo is often enough for a flatter area. Add a consistent side angle when the design wraps around a curved surface or crosses a change in body plane.
Can a good photo guarantee an accurate tattoo result?
No. It improves the usefulness of a planning preview, but the artist still decides the final drawing, placement, scale, technique, and adjustments for the body.
Related guides
Ombra Tattoo
Preview ink on your own skin